Route Planning
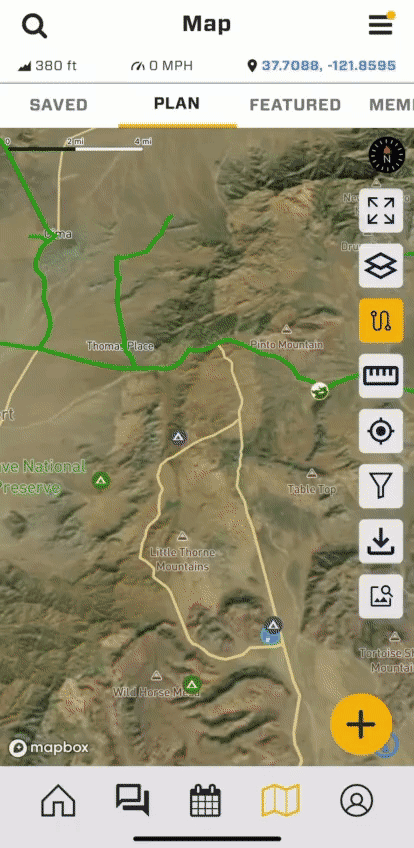
To get started with Route Planning, go to the Resource Map in Overland Bound One and select the Route Planning icon on the right side of the map. Route Planning is the 'S' curve icon with dots on the end.
Check out the full video tutorial here!

Route Planning allows you to specifically plot out waypoints with the ease of route-snapping. Route-snapping is when Overland Bound One automatically defines the best possible route between two points based on the terrain you select.
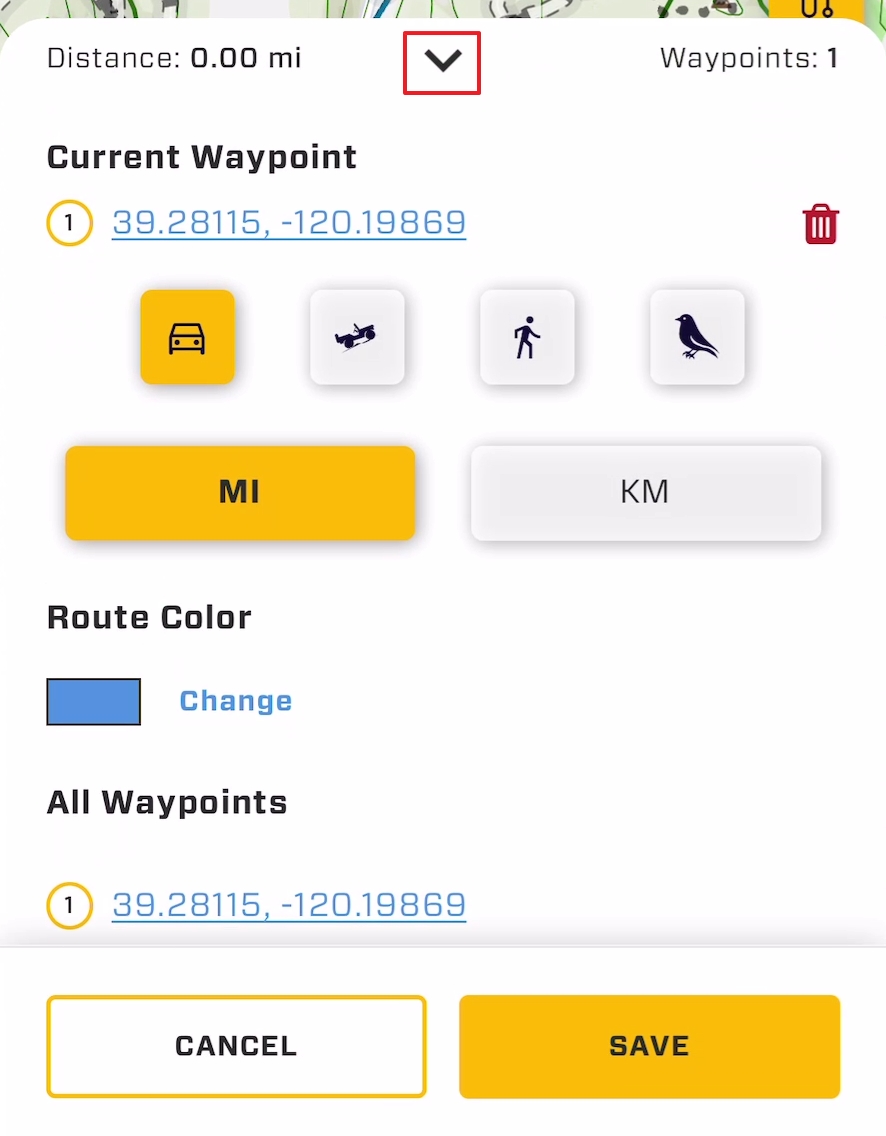
Add Waypoints: Tap on a road or path to place your first waypoint and the Route Planning tray will appear at the bottom of the screen. Add additional waypoints by moving the map around and tapping additional locations.
* IMPORTANT NOTE: Route Planner does not currently route along our MVUM map layer. For more accurate route planning, turn this layer off prior to placing waypoints, or use as-the-bird-flies routing mode along MVUM tracks.Select Route Modes: Routes will be snapped to depending on the route method selected.
Route Mode Options:
Street Mode - These are established paved and main roads such as a highway or street
Off-road - These are secondary and unimproved roads, such as Forest Service roads and OHV trails
Hiking - This will pull up hiking trails along your route, perfect for planning excursions to remote trailheads and vistas only available by foot
As the Crow Flies - This will plot a straight line between two points, regardless of terrain or roads available
Changing a routing mode while creating a route will change the way the route snapping behaves to the next waypoint, for example, if you choose "As the Crow Flies" (the bird icon), it will plot a straight line.Edit Points: Tap any waypoint to make it the active waypoint, then long-press and drag the waypoint to adjust it. The selected waypoint and option to delete will appear in the tray when it is the active waypoint.
Search: During route planning, you may use map search to type in a destination, select it from the results, then tap near it to place the next waypoint. This is useful when routing long distances.
Route color: Expand the tray and tap the color to change the color of your route. Color by day, difficulty, or whatever works best for you to organize your route.
Saving: Tap "Save" and then select "Quick-Save" or "Add details".
Quick-Save is recommended for drafting routes on your phone and will only keep a local copy on your app. This is best for routes you are researching and exploring.
"Add Details" allows you to change the name and add a photo, and this route will be uploaded to our servers so it can be shared by you.
Note: Details must be added in order to share the route.Details: Expand the tray using the "Carrot" at the top center of the tray to reveal more details. You can change the distance units, the color of the route, or see turn-by-turn directions created by the route.
Export as GPX: Routes can be exported as a GPX from the details screen AFTER the route has been saved.
To do this, tap the route POI icon to reveal its summary card.
Tap or swipe up on the card to reveal the details screen, and choose the Export GPX button just under the mini-map in the details screen.
GPX files can be imported to other software platforms, or re-imported into Overland Bound One as an off-road trailhead. GPX files are not editable.Sharing: To share a route, first save the route details to be sure the route is uploaded to the Overland Bound One servers. Editing a quick save route, or saving using the "Add Details" option will trigger route upload.
Once uploaded, tap the POI icon and select the share button. Share the route using the standard options on your device.
The recipient must have Overland Bound One installed in order open the route.
If they do not have Overland Bound One, use the Export GPX option above so they can open the route in an app of their choice.
Note: Once you export to GPX your route will not be editable. To retain editing capabilities, save and share as an Overland Bound One Route.
IMPORTANT NOTE: The route mode chosen will fundamentally change the way a route is created by Overland Bound One, and some modes make it impossible to route an off-road path or trail.
For example, Street mode prefers primary streets that are paved. This mode WILL NOT route on many of the unimproved roads that are preferred when on an overland trip.