Prefer a video app tutorial? See it here!

All the Ways to Add
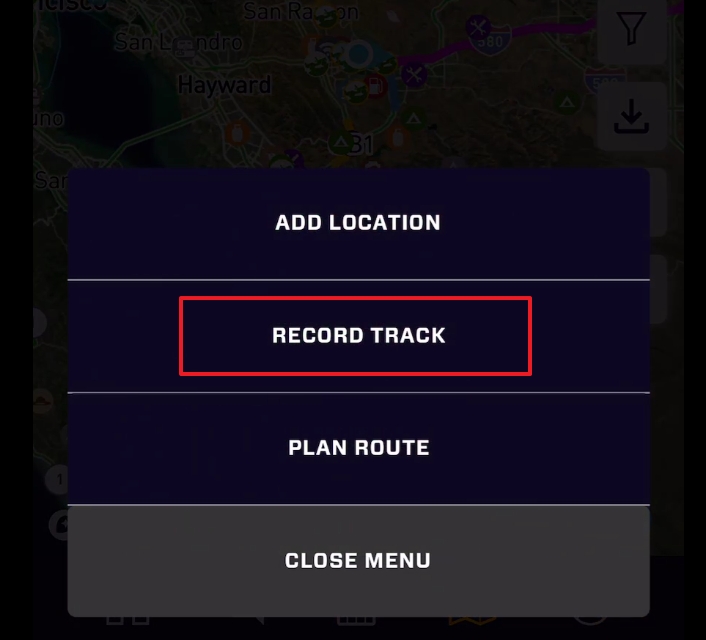
The + Button - On the Plan tab of the map, you will see a big + button. This button is context sensitive and means "Add". It will add different things on each map tab (Plan, Member, Event, etc.). To add a location, tap it on the Plan tab, and it will provide two options: Add Location or Record Track. This will allow you to Add a POI location or begin recording a Route/Track/Trail. Recorded tracks are always saved as a Offroad Trailhead.
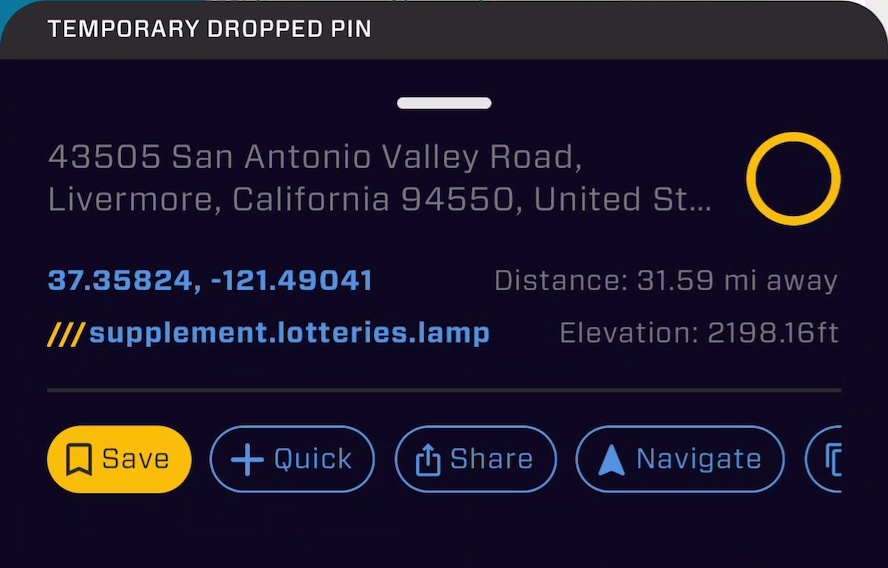
Temp Pin - One of the fastest ways to add a location is the temp pin. At any location on the map, long-press to create a temp pin. This quickly creates a summary card with information on about the location. Make the temp pin persistent by pressing the "Save" button. Now this temp pin will stay on the map, and can be shared with others to quickly show your location or add a POI Location later. Also in the temp pin card, you will see "Quick +".
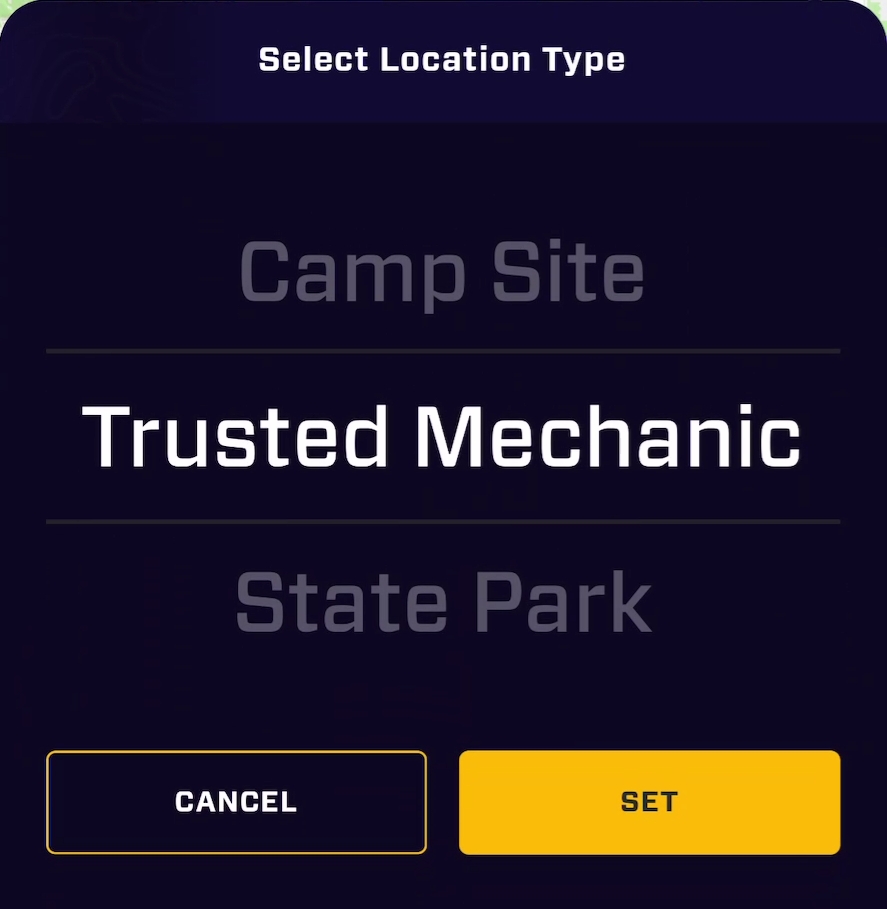
Quick Add - You don't always have the time to add a bunch of details! Quick add is the fastest way to add a location of a specific type
quickly, to add details or delete it later. To do this, create a temp pin as above, the tap "Quick +". You will be presented with a list of options. Simply selectthe correct type, and the location w3ill be added as a "Quick Add", with as much information OB1 can derive and the correct icon. Quick adds are private only to you. At any time, you can delete a Quick Add, or Edit a Quick Add to add details to make it a public POI Location. To do so, tap the icon on the map or access the location with the "My Location" section of the OB1 Slide Out Menu.
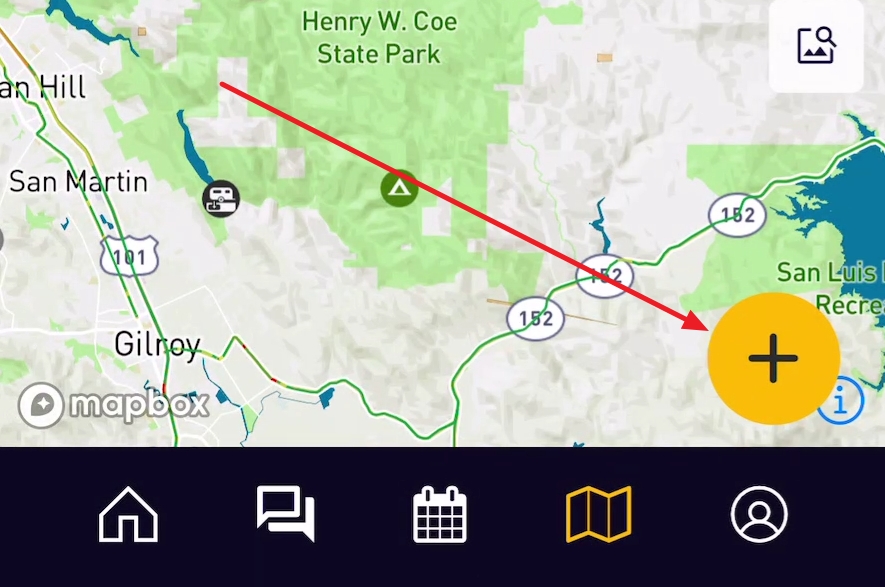
Detailed Add - This is the preferred method to provide quality POI locations to the community. You can do this by selecting the Plus (+) button in the lower right corner of the Plan Map tab. Doing so will open the default Add Location screen, and the first step is to choose the location type. Once you do, you will be presented with the specific Add Location screen for that type.
From a Photo - The easiest way to record a location to add later is to take a picture! As long as location services are enabled on your phone, the GPS coordinates of the location the photo was taken will be saved with the photo. later, you can use the get Location from Photo tool on the Map Toolbar
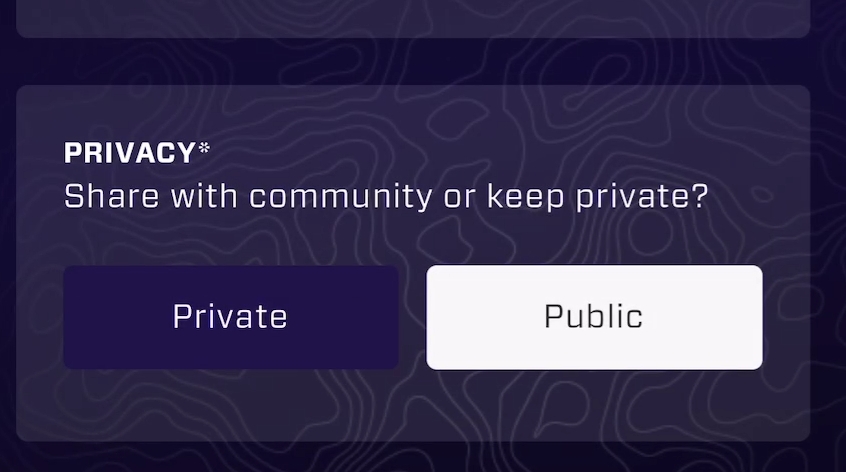
Private / Public
By default, when you add a location, they are uploaded as public locations. This means other members in the community will be able to see them on the map. Any time you add a location, you can change this to "Private" during the app process, and only you will be able to see the location on your map.
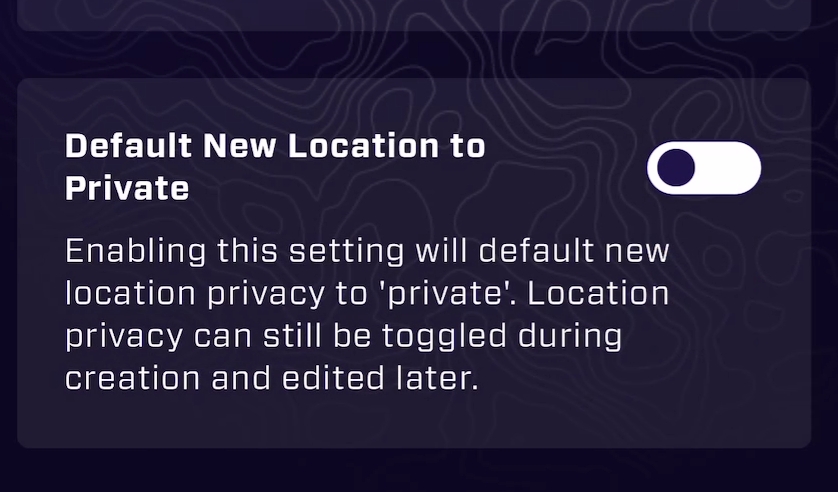
Also, there is a setting in the settings menu that allows you to change the default to "Private". This means that every time you add a location, it will default to Private. That is located in the OB1 Slide Out Menu under Settings->Map
Add Location Screens
You will note that each add location is slightly different depending on the type of location selected. In order to upload a location, there are required details for quality purposes. Any required fields or organized at the top, and indicated with a asterisk* symbol. Once all required info is added, the POI location may be uploaded.
The Offroad Trailhead is a unique Add Location screen that allows you to upload a GPX route file if one is available. This is optional. Offroad Trailheads with a GPX will display the GPX route on the map, and color the route line based on its difficulty.
Quick Vs. Detailed Additions
In Overland Bound One, there is a sophisticated system to insure your locations are saved whether you are on, or offline. For this reason, quick-saves and detailed saves are handled differently. Mostly, this does not affect the use of the app, but there are a few things to understand about each.
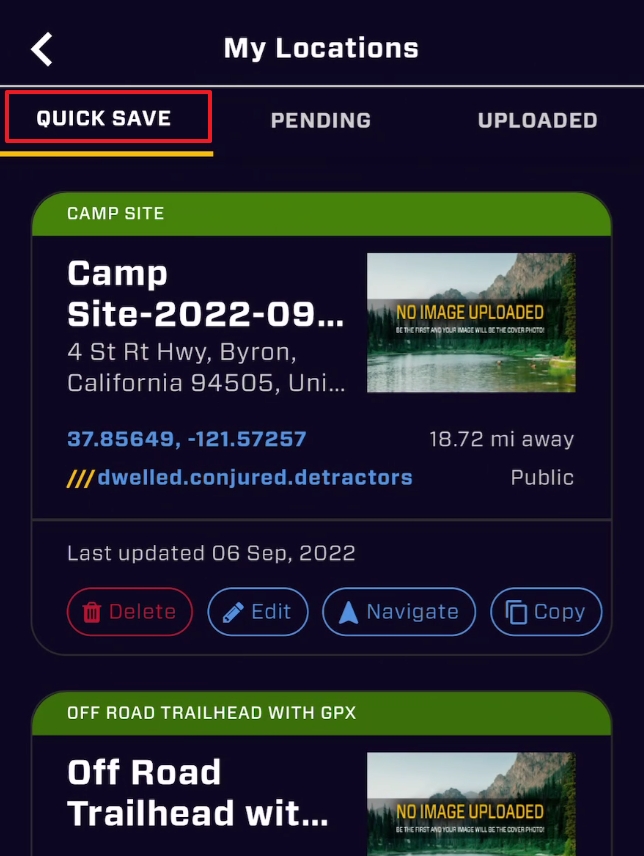
Quick Save: Quick saves allow you to save tracks and points of interest very quickly, and they bypass a lot of the detailed information that would be useful as a public point of interest (resource). For this reason, Quick saves are stored locally on your phone, and not uploaded to the Overland Bound cloud/servers. This means they are listed in your app separately on the "My Locations" screen, AND if you delete the app, they will be gone. This is great if the resource is private, or temporary, and to save quickly when you are on-the-go.
At any time, a quick save may be turned into an uploaded and archived POI by editing the quick save and adding all required information. One this is complete, the location will be uploaded and saved automatically as long as you have cell service. Notifications of the process will appear in the app.
Recording Tracks
Tracks are also added using the "+" button on the map. In the menu, you will see "Record Track". This will begin the track recording process, and you will see the recording UI appear. You are recording your track. There is a detailed tutorial on Track Recording separately.